Free motion quilting Sampler

IMG_20170603_211123.jpg

I’ve been working on learning free motion quilting (FMQ) for a while now, almost since I started quilting. I knew I wanted to FMQ my first project, my Papa quilt, and I did, although looking at it now I cringe at the out-of-wack tension.

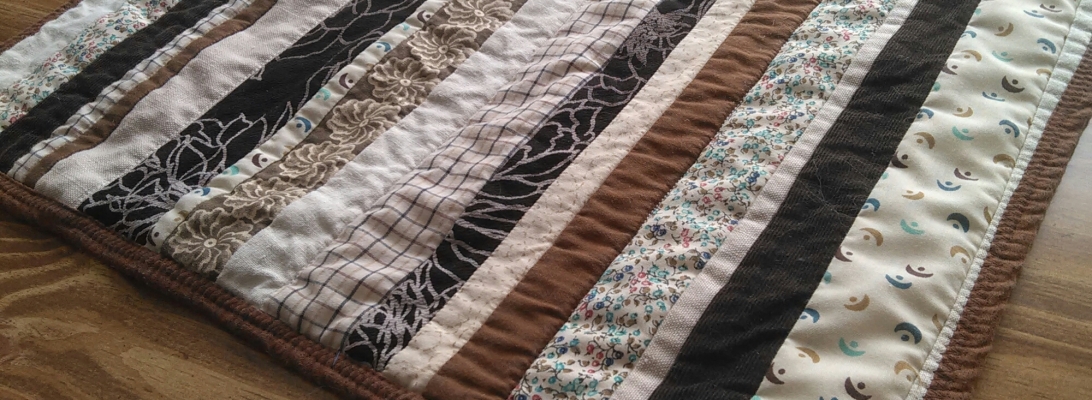
I did a few other projects, and kept practicing along the way. But it was only when I made my first gift quilt that I got serious about my studies. That, and the intense trial and error on my Easter table runner.

img_2625

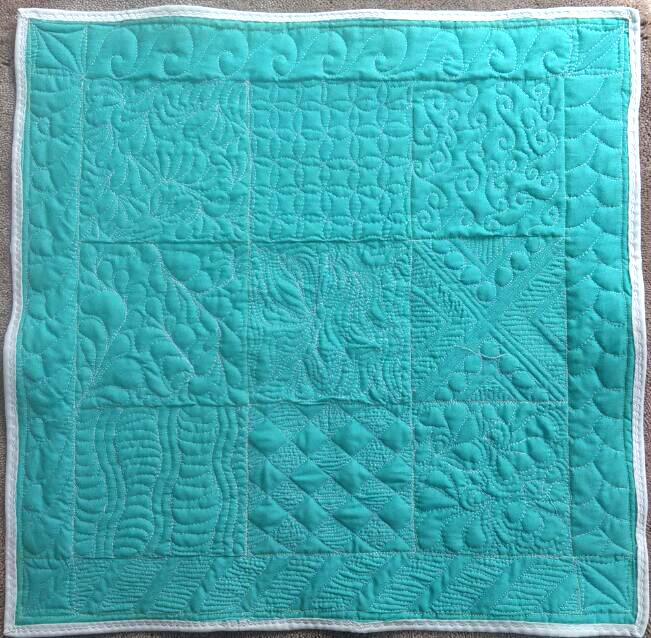
At some point I searched FMQ on Facebook and joined the group Sit Down Free Motion Quilting. I had no idea what luck I was in! The teacher there has a free sampler pattern, complete with lessons and YouTube videos for 9 filler patterns and 4 borders. Woah!

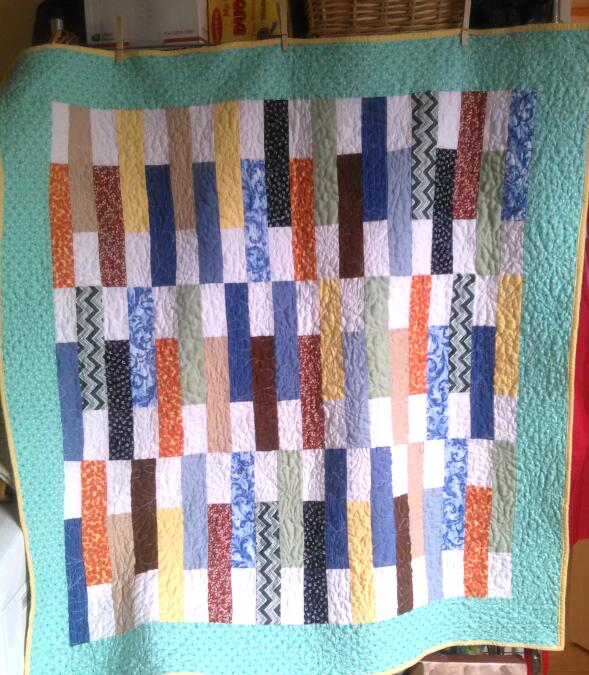
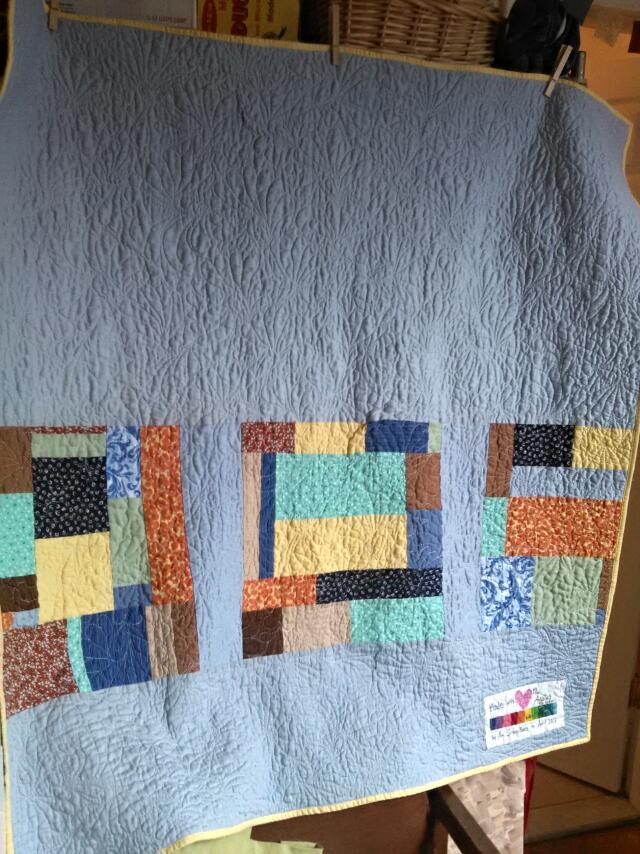
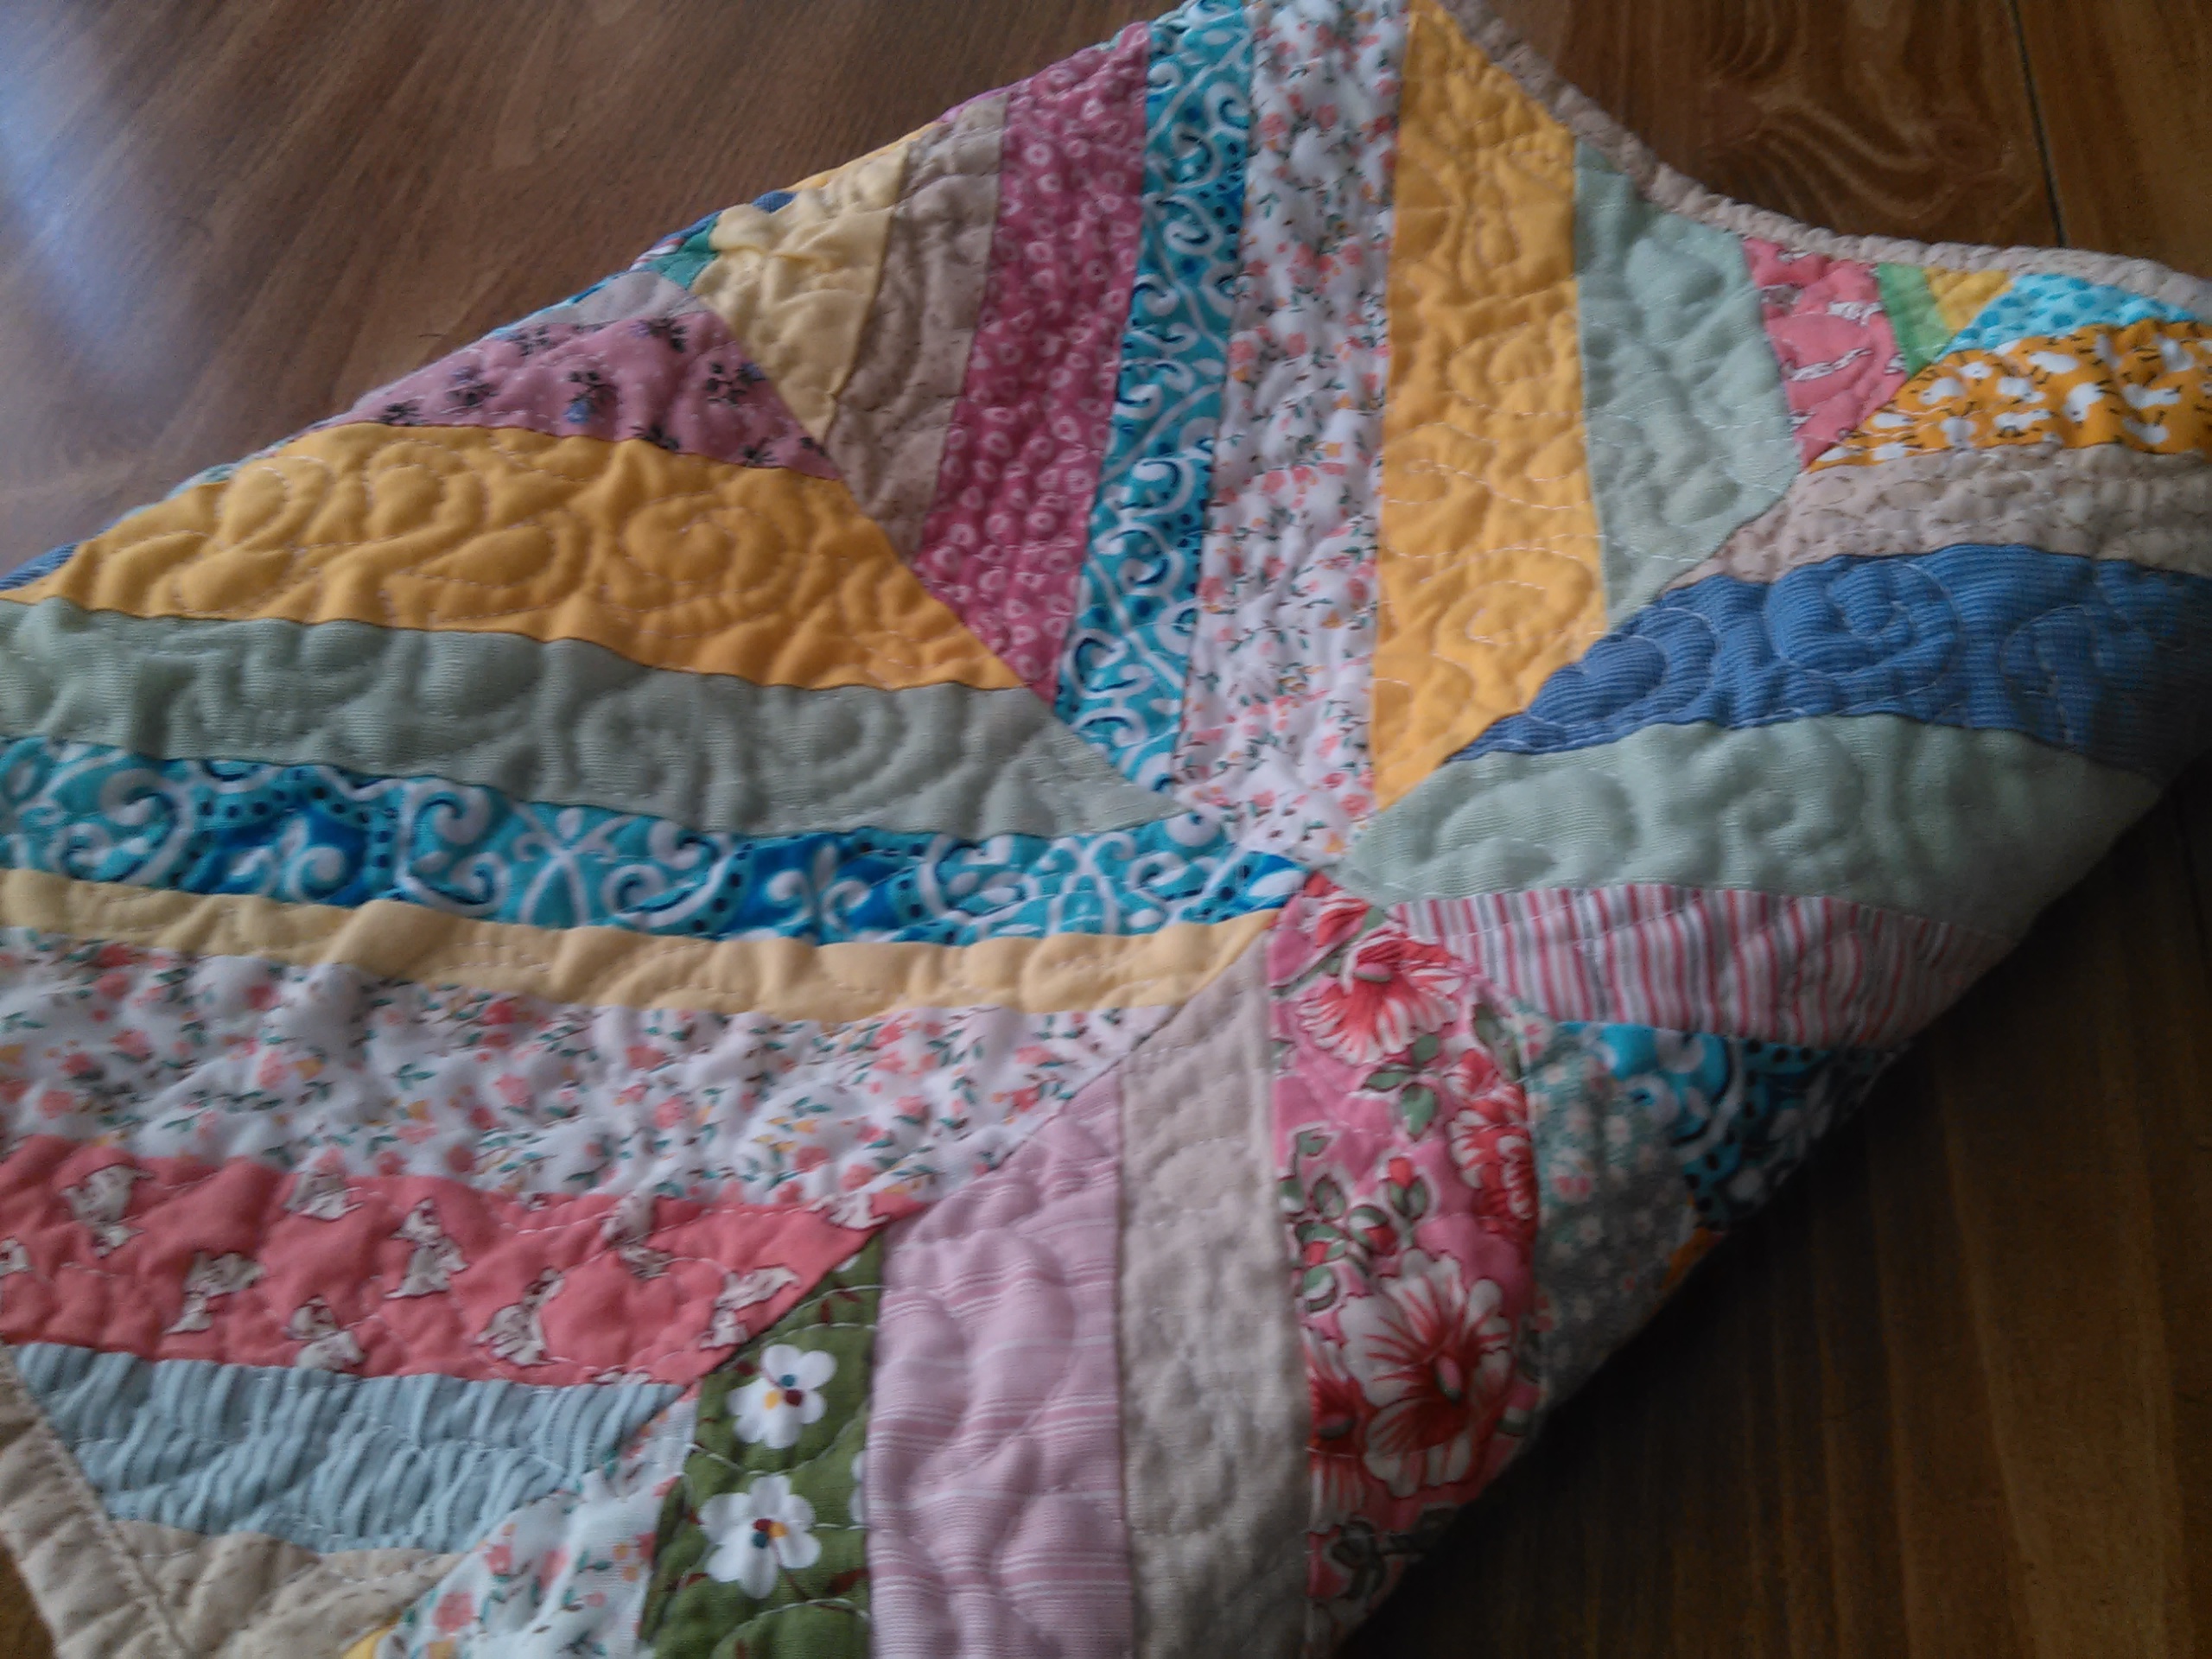
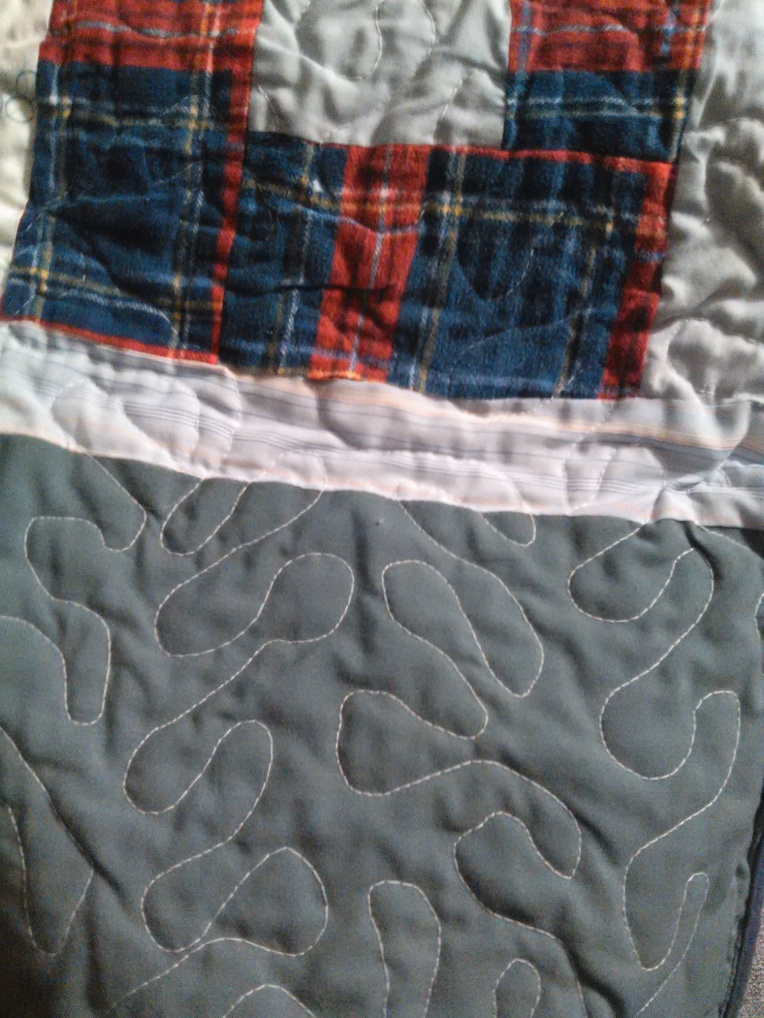
Here’s my completed sampler:

2017-04-21_15.11.37

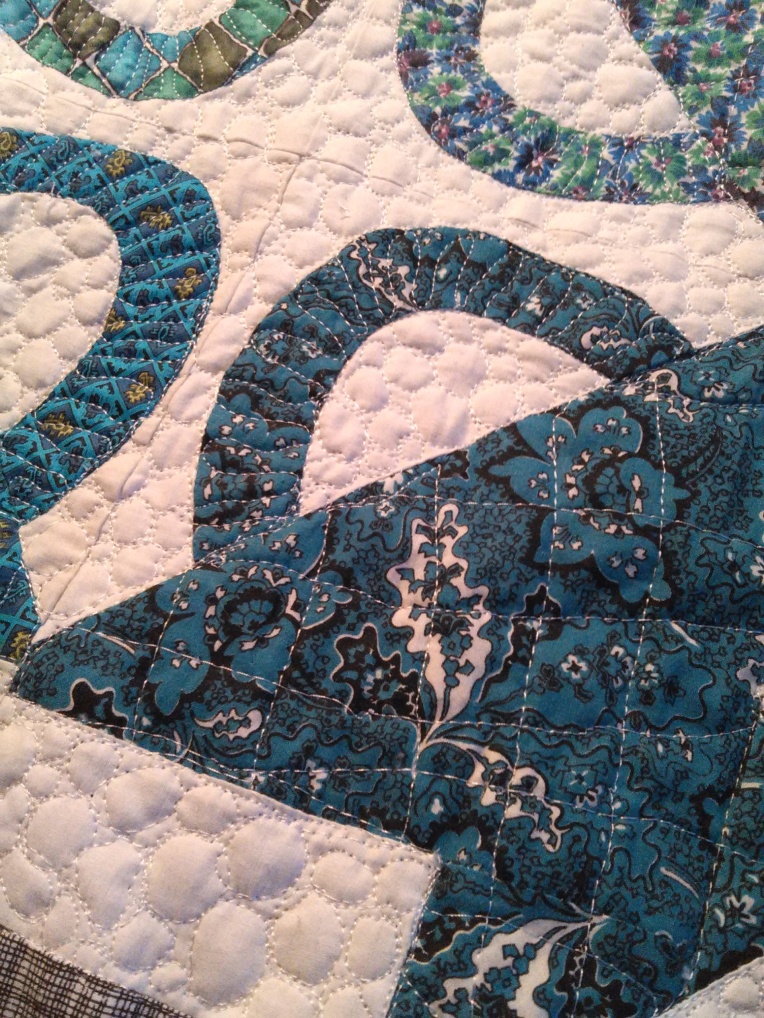
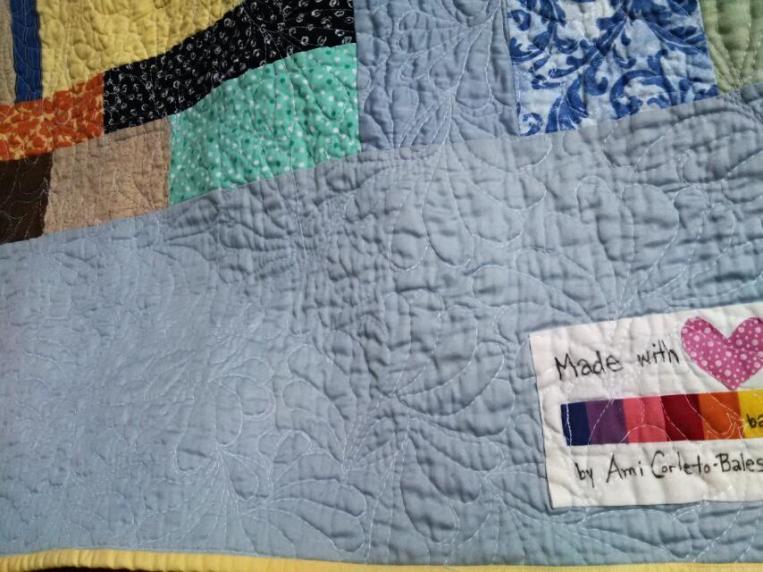
A closeup of my favorite, feathers:

IMG_20170417_161649

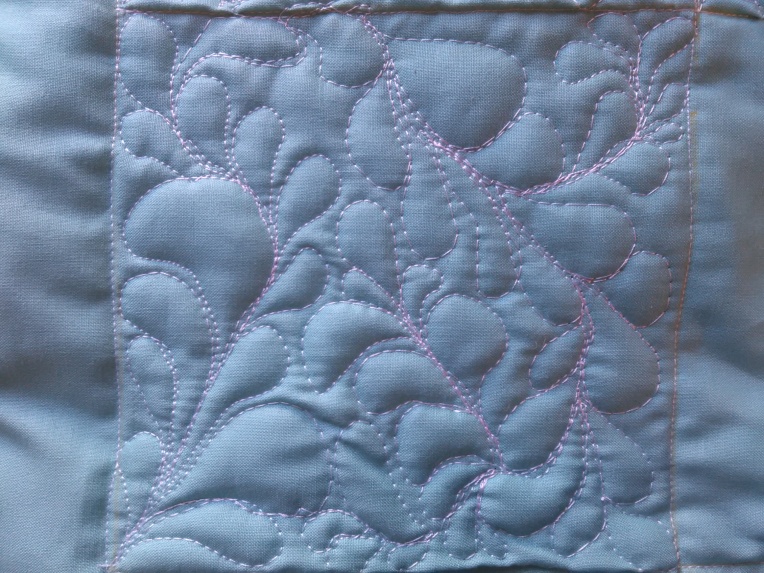
I learned so much, and finally feel confident about using free motion quilting. You just can’t get the same textures with straight line quilting.

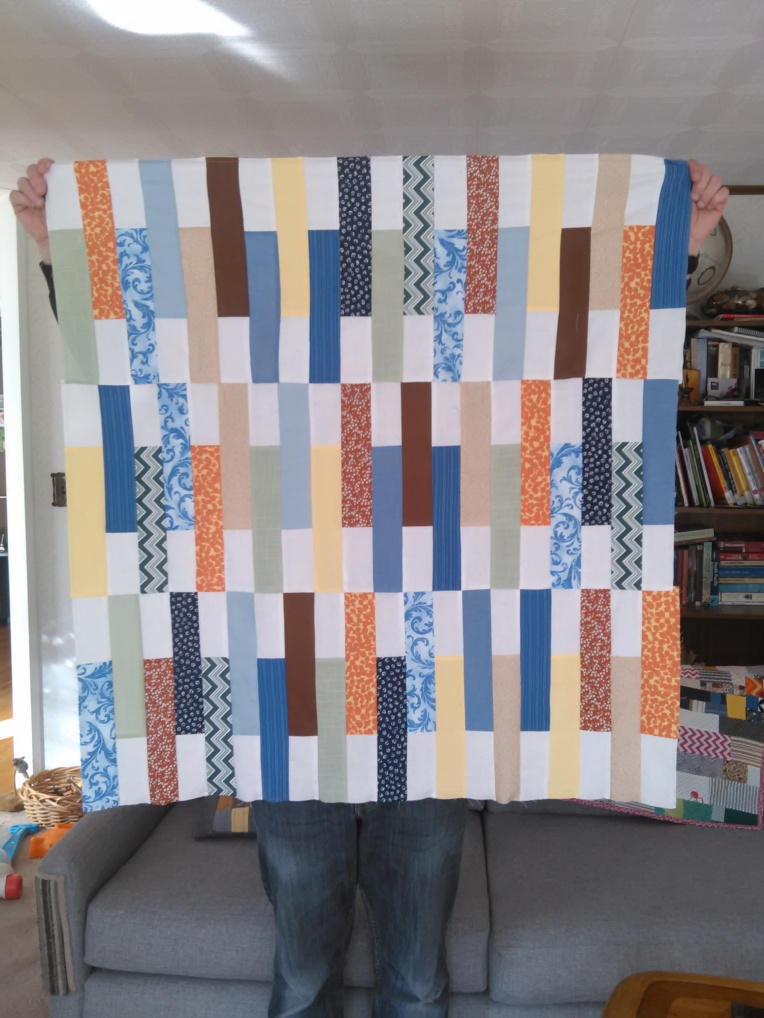
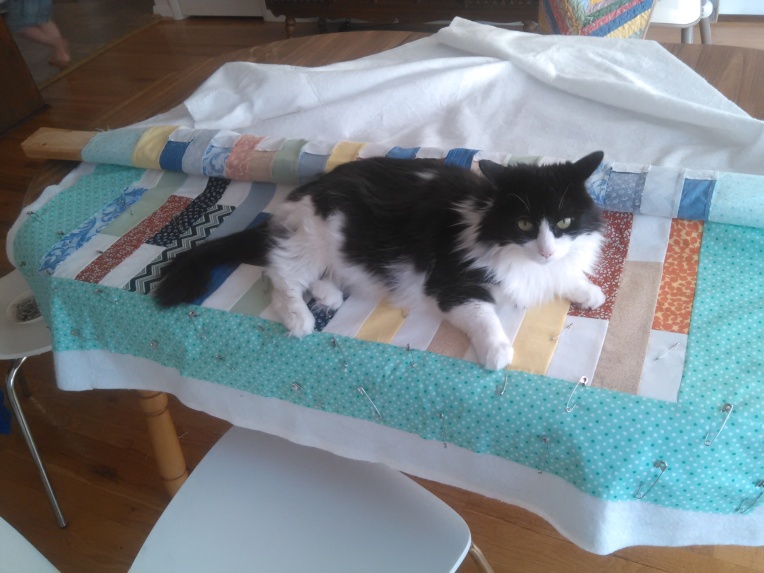
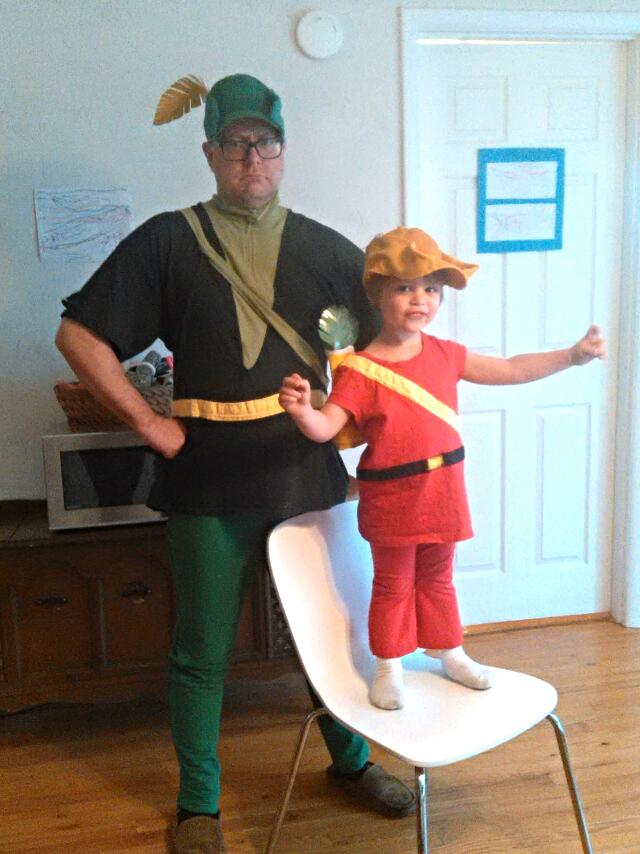
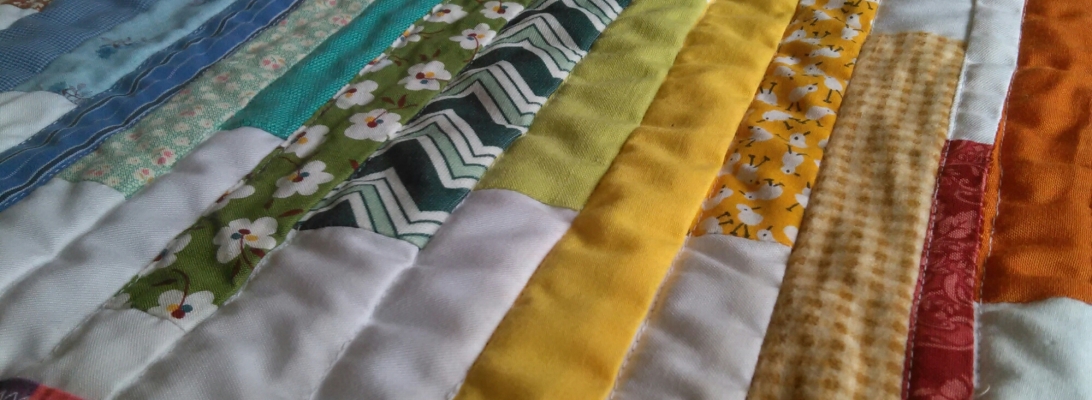
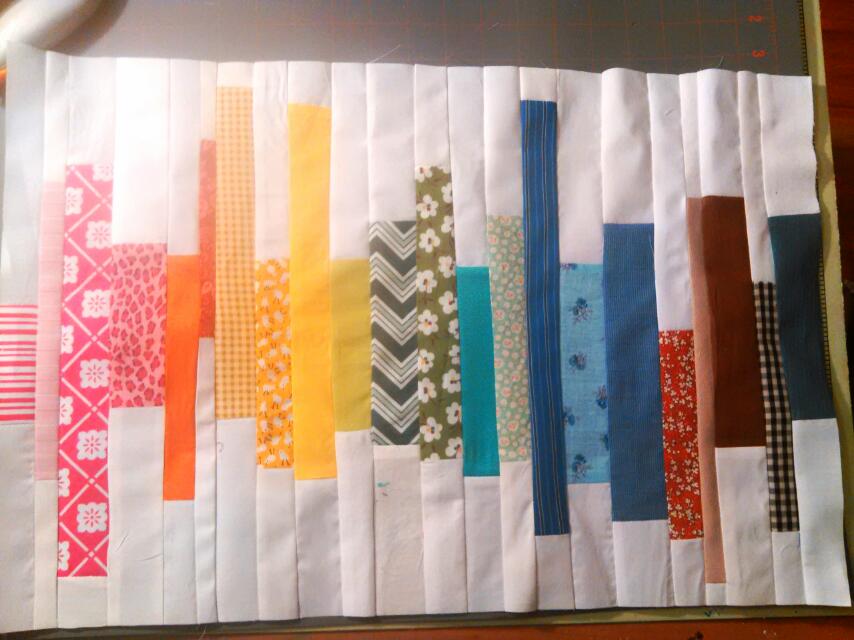
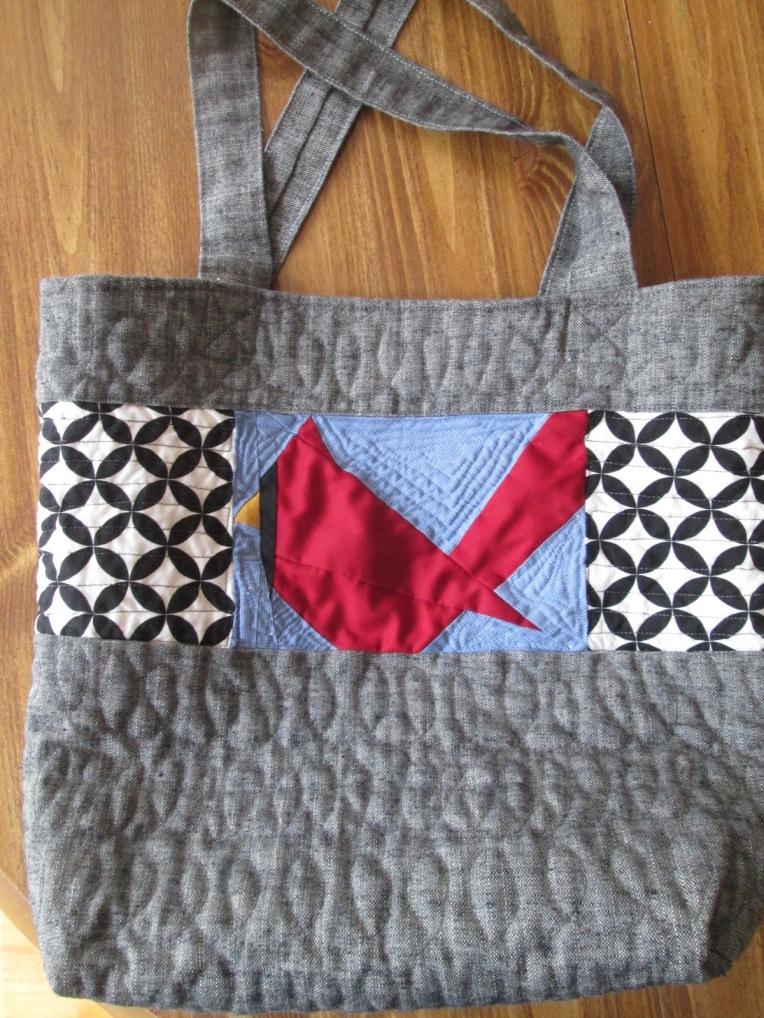
Here’s a teaser of how I’m currently using my new skills. Til next time!

IMG_20170603_202424.jpg

Toby’s quilt

Now that this quilt has been safely delivered to its new home, I can share on the blog. Yay!

2017-04-29_18.08.14

This is Toby’s quilt, here before the baby himself! Toby’s mama is a really good local friend, and a quilter herself. I used Diary of a Quilter’s Stick Shift pattern and it came together beautifully.

IMG_20170402_162053

I decided after it was all together to add a border, and I’m glad I did. I think it really unifies the fabrics I chose, which I liked but then I started doubting later. But then my friend sent me a picture of the quilt *she* was working on for her upcoming arrival, and it was a similar color scheme! Great minds, right? Haha.

IMG_20170424_183038

And of course, Gigi had to help. I’m still loving this basting method. (I wrote about it before here.)

2017-04-29_18.08.59

Quilted using a paisley feather design I learned during the Free Motion Quilting Sampler I worked on in April, but that’s a story for another post. I was happy to use my new skills, and since the back is a high thread count bedsheet, it has great texture & is super soft. And check out those improv blocks with leftover scraps from the front!

2017-04-29_18.09.57

Finished off with a handmade label, the first time id ever made one. I’m glad I remembered to stitch it on before quilting!

Now we’re all just waiting on baby. I’m excited to meet you, Toby!

Green Arrow & Speedy (Kid Arrow)

Here’s one of the projects I worked on in April:

2017-04-20_17.47.10

My husband is a fan of comic books, and when the local Children’s Museum announced they were going to have a ComicCon, he was excites to take our almost-3-year-old. And I was assigned costume maker.

2017-04-20_17.48.58

Not too bad for someone who had never even heard of Green Arrow before now! I used my technique of gathering thrift store clothes and altering them. It cost less than $20 and Daddy was able to share part of his world with Sam. How special.

2017-04-20_17.48.22


Easter/Spring Table Runner

Well, this one certainly was a process!

I started out with many, many ( and still not enough) pastel-ish scrap strings. I paper pieced them, but forgot to shorten my stitch length. Mmm hmm.


So I got 8 partially pieced, and realized I really did need another 4 blocks. Got those together. Pieced a 6×2 runner. Started free motion quilting, and it was working! All that practice paid off! I kept thinking, “I’m flying!!”

And then I broke a needle.  And my machine would NOT FMQ after that. 


Fortunately,
there’s a fabulous Facebook group where some kind folks helped me troubleshoot. I thought I was really sink for a while, but I tried a few people’s advice to try another needle, and that worked. Whew! 

Look at all that crinkly goodness! Ready for Easter brunch and Spring!

St. Patrick’s Day Table Runner

I know, I know, it’s almost Easter. I’m behind on blogging! 


Here’s another half square triangle project I whipped up. Random placement of greens from my stash, though not enough to make the randomness easy!


It’s been on the table well past St. Patrick’s Day, because it’s not shamrocks, etc, just green. My favorite color. And one we long for in late winter here in Upstate NY. 

My first wavy quilting project, in various shades of green. 

Chevron quilt

Another quilt finish! This time it’s a lap-sized quilt I started last Fall. I always thought the color scheme was better as a Spring project, so…I guess this worked out for the best. 


I used half square triangles to make a chevron pattern, after seeing this mini at Cluck Cluck Sew.  I tried a new-to-me method of basting too, that’s I learned about from Color Me Quilty. Thanks! It worked better than I could have hoped! 


Splurged on this backing fabric. So pretty!

And quilted with organic wavy lines, using this tutorial at Bijou Lovely.  I’m not sure I love this texture, but…good enough & done! 

Rainbow table runner

Still wanting to work small, I decided to make another table runner. I had/have a lot of white (and neutral) scraps in small rectangles to use up, so I decided to try something like this. I didn’t use the instructions so much as the picture for inspiration. Only, a rainbow, in anticipation of Spring:

I had some rainbow material to use on the back and binding.

The binding came out a little wavy and I’m not sure why, but it’s a nice bright addition to that messy table.

Come on, Spring!

Nana’s Monochromatic Placemat

A while ago I made a placemat for may grandmother. Unfortunately, I don’t have a picture of it, but it was white with a blue scrappy border, because blue is her favorite color. Last Friday, she told me again how much she really loved it, and little is more satisfying as that for me! I asked what color she’d like if I made another, and she said “beige & tan”, which…to me is basically the same color, and not a very nice one at that! So…

I added in some deeper values (otherwise known as “brown”), along with varying scales of prints, and solids. 

I did it Quilt-As-You-Go, which was super quick. I’d sew a strip to the batting, flip & press, and sew another. When I was done, I quilted through the backing in a few places, and sewed on some perfect leftover binding. 

Wonky Log Cabins, Part 2

I made my goal of 16 blocks, and they really did use scraps nicely. For the last “round”, I used my neutral scraps, because I also had a lot of those. 

However, I think next time I would:

  • Use thinner strings, with more “rounds” per log cabin
  • Edit out the blues that worked more like low-volume prints, because they ended making it hard to tell in some cases that they even are log cabins
  • Try a technique I read about on a now-defunct blog, where you cut all your scraps an equal width and then sew them all together end-to-end to make a really really long string, then cut as needed for your log cabin. That could eat up more scraps. 

I’ve started sewing them into rows, using my own method of not having to be precise about block size, but really being more laborious in the end and having to figure out which blocks match up best. 

Excuse the wrinkles; I had them rolled up in an ill-fated attempt to….avoid wrinkles.

I’m not super loving it, so I’m letting it rest for a little while. Sometimes the answer comes to me as I fall asleep, and sometimes space and time are the beat things for a piece. We’ll see.