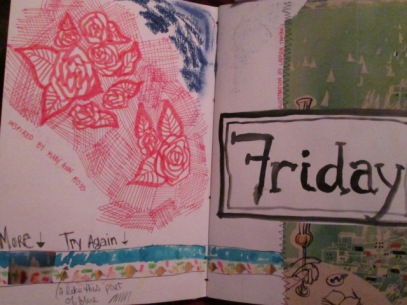
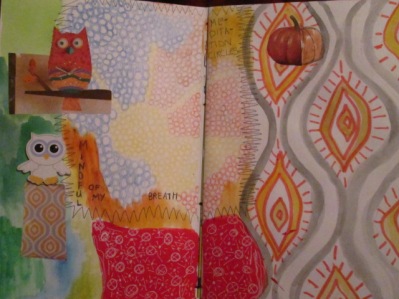
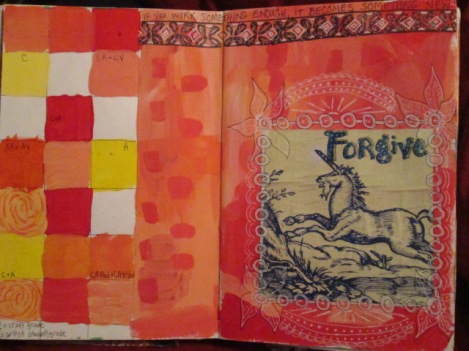
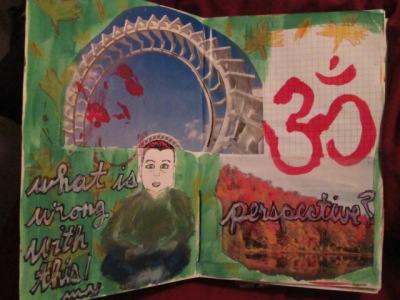
New Art Journal!

Well, since I’ve finished filled up Unfinished Business, it’s time for a new art journal.  Actually, I’ve long since learned that the scarcity monster starts rearing it’s ugly head toward the end of my journals if I don’t have another waiting in the wings, and my production slowwwwws to a crawl, a plodding. So I’ve had this one ready for a while.

IMG_7257[1]

I used half a pad of Canson XL watercolor paper, 9″ x 12″.  That’s 5 signatures of 3 pages each, for a total of 60 pages, or 28 spreads and 2 single pages, depending how you’re counting.

IMG_7258[1]
That’s whiskers and a cat snout photobombing on the left.


For the cover, I used a fabulous old discarded book from the library free bin. Definitely made to be tough, and it sewed through beautifully, longstitch. Bonus–the book itself was a biography of a Confederate general, so that nonsense made its way to the recycling bin.

IMG_7260[1]

I started out collaging a card & a stamp (a 1 cent bobcat, or maybe lynx) I liked onto the inside cover, and playing with watercolor dots and my new Sharpie brush pen. I’m really trying to work on lettering.

IMG_7262[1]

And then….the paper started feeling too precious. I mean, I only used half of a $6 pad of paper and a free library book cover, so really, it shouldn’t be making me nervous, but it’s pretty nice watercolor paper, much better than the kind I’d been using in Unfinished Business.

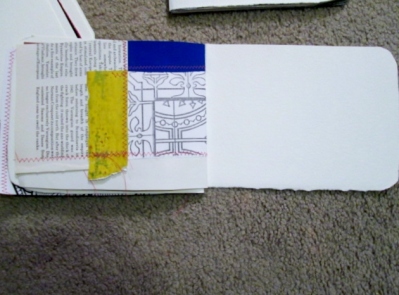
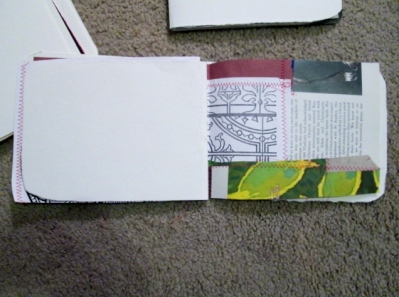
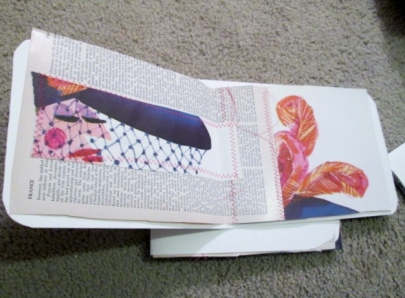
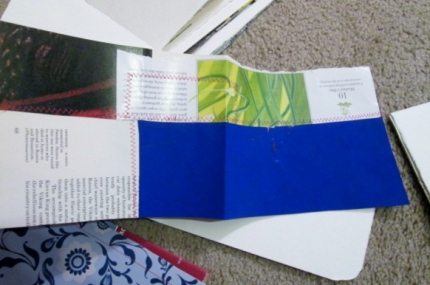
At the same time, I’d started making some patchwork paper (more on that soon), to use up some scraps of paper I had that I never really liked. The more I sewed them together, the more I liked them. Throw in some funky duct tape I found at the dollar store, and voila:

IMG_7266[1]

A nice little insert, which I didn’t feel at all bad about “wasting” on a mandala doodle. (There’s that scarcity monster again! Who’s to say that using up every single piece of “nice” watercolor paper with a mandala doodle is “wasting” it??!?)

IMG_7265[1]

So I was able to make my peace with this new journal, getting into the swing of it, knowing I had higher quality and lower quality papers to play with. Feeling a little freer already. Maybe time to play around with some representational acrylic painting…

IMG_7263[1]


Now that feels good! RROOOOAAAAARRR!

Art Journal Flip Part 2

Here I am today, with another art journal flip!

Lots of experimenting, like usual. Haven’t found my footing just yet, but maybe like Austin Kleon says (although more eloquently than I’m saying it here), you don’t have to worry so much about your body of work being cohesive; the thing that connects it is that you made it.

IMG_6977

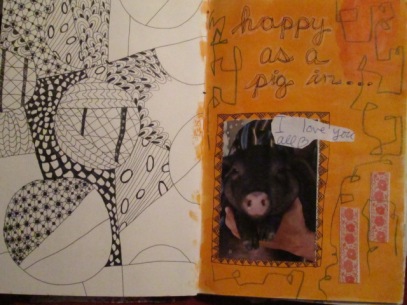
So, here’s a(n unfinished business) zendoodle and a collaged pig picture….

A style I was trying out from a back issue of Cloth Paper Scissors, inspired by an in-depth interest in the works of George Harrison….

IMG_6980

Sketching over & under collage & paint….

  IMG_6981

Inspiration from Ms. Mary Ann Moss over at Dispatch From L.A…

IMG_6982

Testing out meditation techniques with circle-making, blowing up patterns…

IMG_6983

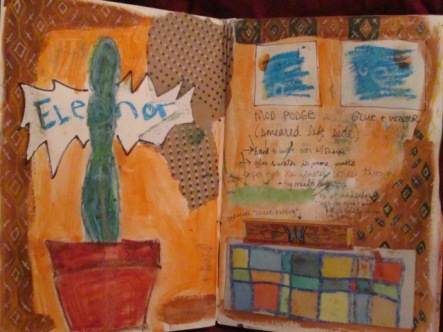
Testing out supplies, craft paint vs. student-grade acrylics, what’s good for what….

IMG_6984

Trying to, and not quite succeeding at, drawing my chubby baby sitting up like a Buddha…

IMG_6985

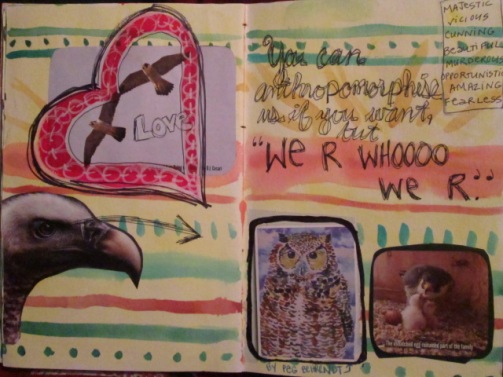
Birds of prey plue Ke$ha lyrics equals…???

IMG_6986


IMG_6988


IMG_6989

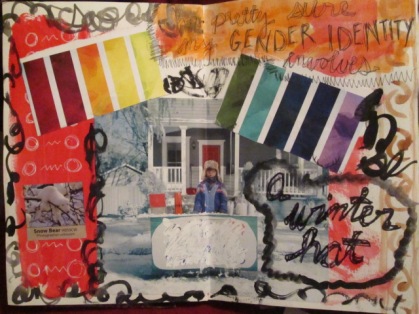
Lots of testing, playing, color…many mediums, styles, techniques….I haven’t found much of a common thread except that it’s my work. And that’s enough for me.

Crazy Quilting, Take 1 and Take 2


Once upon a time, I was unrealistically ambitious (who, me?!?! NEVER! hah) and thought I could have a zero-waste studio. I saved every single scrap in a plastic bag, every extra bit of thread too. And while I’m still guilty of having a too-large collection of “things I can do something with later”, I actually did use a lot of the scraps in my scrap bin. I decided to try crazy quilting.

IMG_7242[1] IMG_7243[1] IMG_7244[1] IMG_7241[2]

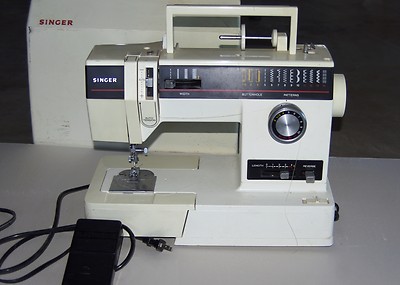
This was Take 1, my first endeavor. Those photos show the various sides of a cover I made for my sewing machine. I figured that would be a nice tribute for this beast of a machine, the Singer 6233 from 1984 that I inherited from my mother, seen here in an ebay photo:

-126352709809027250

And sew I did. (See what I did there?) I learned a lot about the stitch-and-flip piecing technique, which I ended up forgetting and having to relearn during Take 2, since it had been so long between projects (a couple years). Of course, I don’t press my seams as I go. For my purposes, a scrap-covered piece of fabric to keep dust out of my machine, I didn’t really feel the need for that much fuss. But I liked the way it came out anyhow.  Even the back came out kind of cool:

IMG_7247[1] IMG_7246[1]

I love looking at detail pieces. You can indeed see that my seamwork has a long way to go, but it’s all a journey. Some bunch up, and I’m using a combination of all different types of fabric (woven, stretch, lightweight, heavyweight, etc.) so there’s going to be puckering. One of these days I’ll use all quilting cotton on a piece, and figure out how to properly line up seams and they’ll be all pressed and symmetric and awesome. Or not. Maybe this grunge aesthetic is just my bag.

IMG_7248[1]  IMG_7250[1]

IMG_7249[1]


So I had my sewing machine cover, and then the scrap bag started filling up again. And I was at loss for what to do. Like I’d never figured out how to use all those scraps before. Like I didn’t stare at my crazy quilt covered sewing machine every day. Sooner or later, it hit me, and I thought, “Of course”. Not sure why it took that long, but here we go…

IMG_7254[1]

IMG_7252[1]

IMG_7253[1]


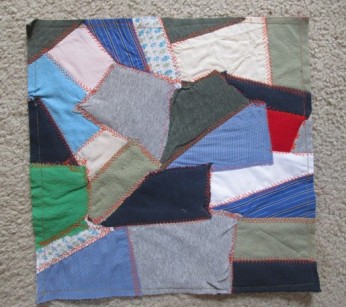
This time I was a little more methodical about separating scraps by color value. My goal for this time was a relatively well-balanced square. I’m not sure what I’ll use it for, but it’s a step up the chain. I used to have a bag of fabric scraps that “I can do something with later”, and now I have a crazy quilted square that I can “do something with later”. Progress!


As I clean my studio (we’re moving in the next couple months), I’m trying to process the raw materials and sort them into the projects they’re for. I do a lot of processing of raw materials (lots of old clothes), and I end up with lots of scraps, balls of fabric yarn, etc. Someday I’ll show you. Til then, friends!


Art Journal Flip Part 1


Welcome! This is my first art journal “flip” on this little blog.  It’s my most recent completely art journal, worked on from September 2014-March 2015, which I eventually named…

IMG_6961


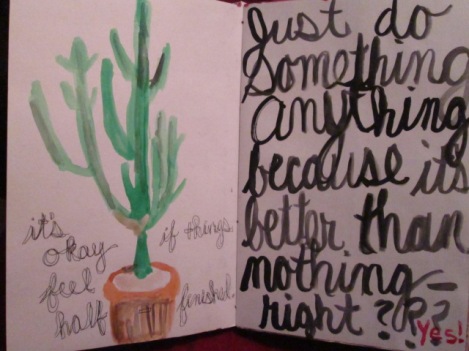
And why? Well, it feels like there’s an awful lot of pages/activities/work that just petered out. Or is sitting and waiting for me to return. I work in fits & starts, with great big pauses and deep breaths in between. That’s my process, and I’m starting to embrace that.

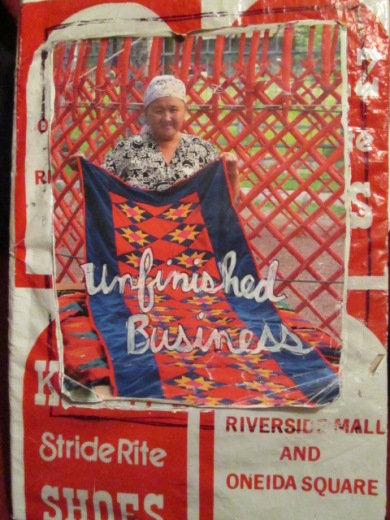
It’s also a quirky journal, in that I decided to experiment with the cover material and use a “vintage” plastic shopping bag (do plastic shopping bags become vintage?!) from a local shoe store that doesn’t have stores at either of those locations anymore. I didn’t love it, but I’m glad I used it, because I’d been keeping it in my materials stash to “do something with” forever, and now it’s used and being carried around for all those months and enjoyed, so that’s better than sitting on a shelf somewhere, right?


IMG_6962

IMG_6963


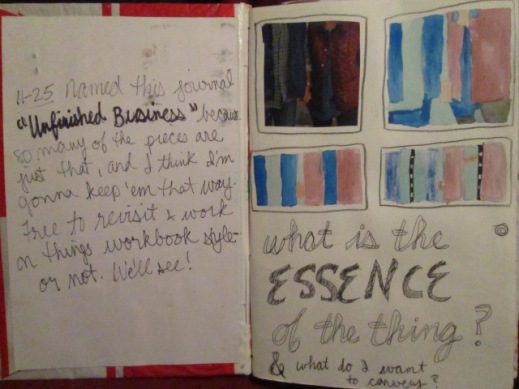
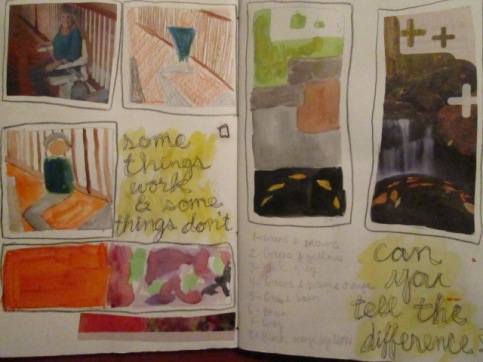
These little studies were influenced by quilting, which I’m always meaning to do more of. I thought it might be interesting to take photographs and distill them into interesting color blocks. Like it says, “Some things work & some things don’t. Can you tell the difference?” (I think so. I’d say the second page would make a better quilt than any of the studies on the first.)  Also, I was so excited to “find my font”–I think I went back to write the words on this a few weeks after I actually did the studies. Very exciting breakthrough, finding one’s font…


IMG_6969

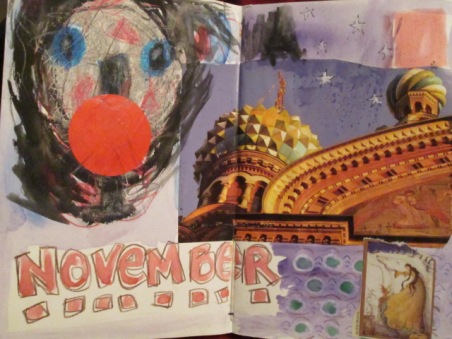
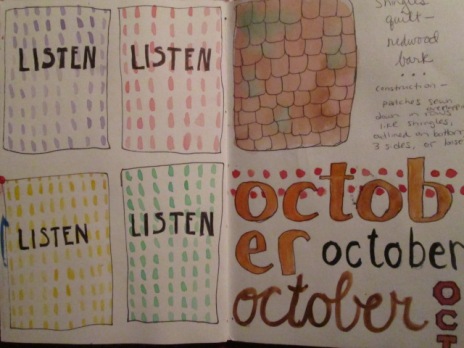
I also got some interesting (to me) ideas while sitting in Quaker Meeting, which we attend occasionally, and I wish even more. I also decided to start working with lettering a little with the name of the month. A good practice to go back and remember what was when, because I don’t otherwise date pages, usually.

IMG_6964

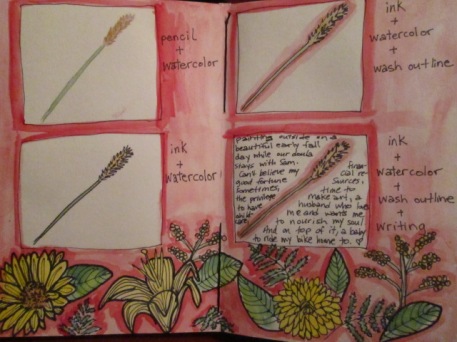
This was definitely influenced by Alisa Burke, who shares lovely peeks of her art journals, including this technique of making a wash outline, and the love of Sharpies. I drew this on a sunny, warm day, sitting by myself in a construction site while our postpartum doula watched Sam, feeling like the luckiest sonofabitch in the world.

IMG_6970

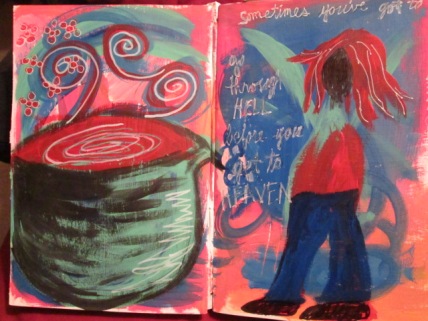
This one I would say was influenced by Connie Solera over at Dirty Footprints Studio.  I tried to paint fearlessly, intuitively, and I ended up with this. Not sure what it’s all about, but I love that cauldron.

IMG_6971

Trying to convince myself…

IMG_6972

Fun. One pattern at a time.

  IMG_6973 IMG_6974

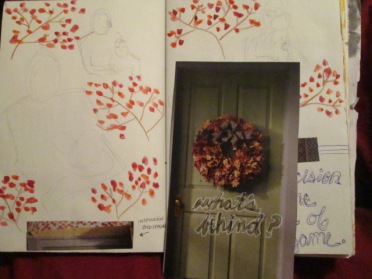
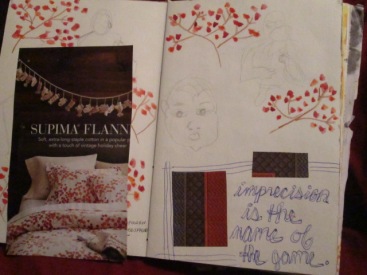
Gesture drawings, with bedsheet-inspired bittersweet branch watercolor doodles on top, and a door that never got taped in….so much unfinished business….

IMG_6975

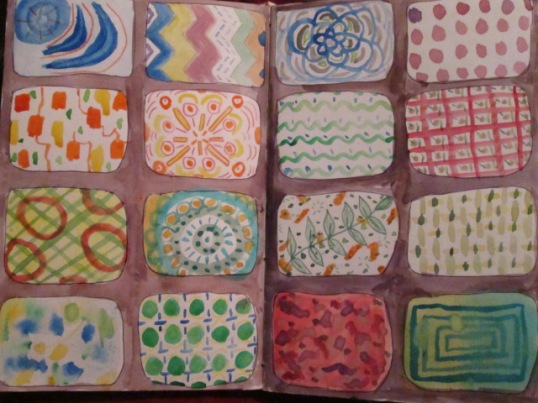
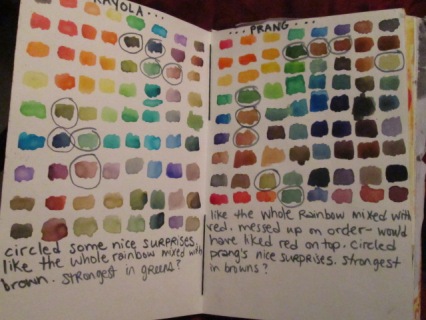
Last but not least, a color chart. Because sometimes it’s fun to be methodic, and make the most of my crappy kid’s quality watercolors. I’m slowly graduating to “grown-up” watercolors! But I think you can still do a lot with these, and I found some pleasant surprises in there. And it’s interesting to see how the overall palette leans toward brwon or green or whatever. I got the idea to mix Crayola & Prang later, so maybe next art journal…


Til next time!

Matching art journals, part 2

Last time I showed the inside of my first attempts at making art journals with sewn pages. This time I can reveal more about how they came out (and hopefully they’ve reached their destination by now)!

IMG_7203[1]


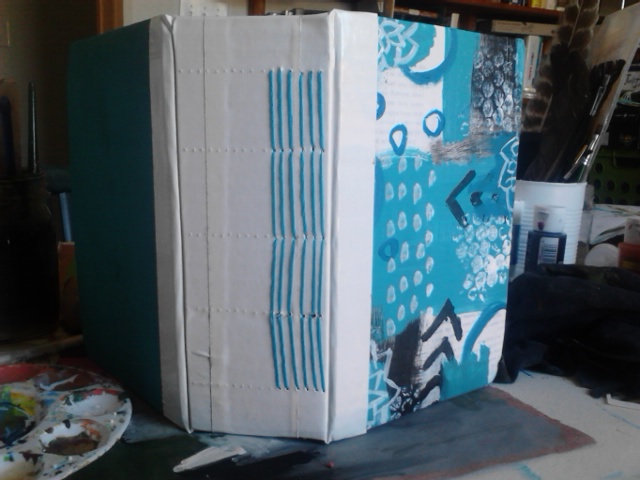
For the cover of mine, I used nothing more venerable than a tissue box with a pattern that I liked, reinforced with the cover of the pad of watercolor paper I used on the inside. For my friend’s, I worked a little harder, covering cardboard with a really nice repurposed wrapping paper.  And again, I added a button with some embroidery thread to wrap around it, because done properly, a collaged & painted & played-in art journal gets fat & puffy & juicy and might need a closure to keep it together!


IMG_7204[1]

I used longstitch, my favorite before I figured out pamphlet stitch a little better.  The spines are made of duct tape, which is flexible & that’s kind of nice, but really, it’s because it’s so easy. I haven’t figured out a glued spine that I like yet.

IMG_7207[1]


I decorated the spine of hers with a friendship bracelet.  I kept mine plain for now, but I’ve also decorated my spines with more paint, or paper beads, or even little feathers I collect. We’ll see where this one goes.

IMG_7206[1]

You can see the different types of paper nicely in this shot. You might also be able to squint & see that with my friend’s journal, I tried to round the corners of the pages. I didn’t bother with mine.


IMG_7205[1]

Glamor shot! And now they’re completely out into the world. Huzzah!


Matching sewn art journals

Over the holidays, an old friend of mine was in town and we were able to introduce each other to our new-ish baby (me) and partner (her).  While we were talking, she mentioned that she’d like to start an art journal, and I was so happy to see her, that I started putting together a journal for her. I was trying a new technique for me, creating art journal pages from patchwork-sewn papers, so I decided to work in a series: one for me (the tester, haha) and one for her.

IMG_6553
When I first met her all those years ago, she was playing “Les Mis” music in marching band.

IMG_6550

IMG_6549

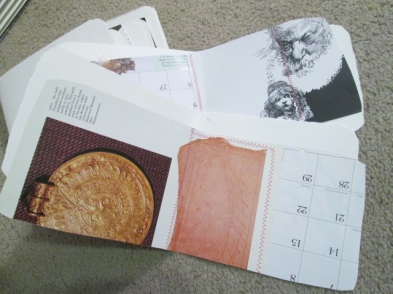
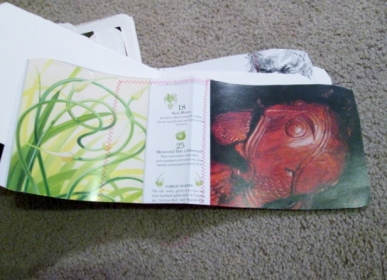
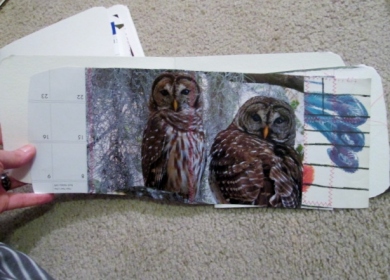
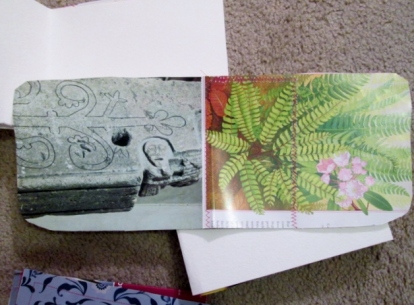
I tried to include a variety of papers: calendars, children’s books, vintage encyclopedia entries, etc. Most have some significance to each of us–things we like(d), things that reminded me of either of us.  I also included some blank watercolor paper.

IMG_6547


IMG_6546

I liked how it came out, but I have yet to see what it’s like to work in them. I think the zigzag stitch sewing is going to add an interesting texture challenge!


IMG_6542


IMG_6541

Some pages I like just the way they are. I decided to mail both of them to her, and in my journal, I put a bold dotted line around anything I wanted to keep as the original. Anything else, I invited her to alter & send back.


IMG_6540
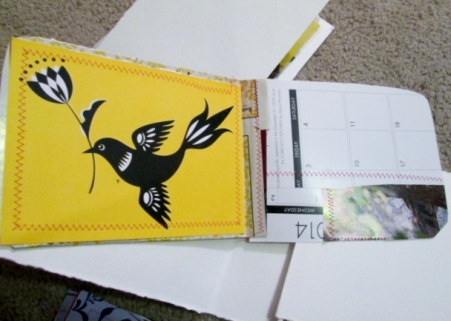
I put a dotted line around this bird silhouette, for sure.

IMG_6539


In a future post I’ll share some photos & info about the binding. For now, I’m gonna get these into the mail!

Journal 52: Weeks 9-11

Back trying to play catchup on my Journal 52!

Week 9 was a prompt that involved using one color and one simple shape. I chose red & diamonds. Lots of layer here.

IMG_7201[1]


Week 10 was “coloring book inspiration”.  I tried a couple different things, including colored pencil & watercoloring in some intricate coloring books I have, but I wasn’t loving anything. I came back to one I’d done a few years ago. I usually prefer coloring during difficult times, as an meditative exercise in healing. I guess I didn’t really need that right now, although when I colored this, I certainly did. In order to do something creative for this week, I decided to insert it as a fold-out, giving my already chunky journal a little more juicy heft.

IMG_7148[1]


And Week 11, Just Write. I did some more stacked journaling (can’t remember where I learned that from, but Judi Hurwitt does some beautiful work with it and has a tutorial on her blog here.


IMG_7202[1]


Whew! That was a ride, huh? We just went through 2 months! And now I’m only a week or two behind. Til next time!